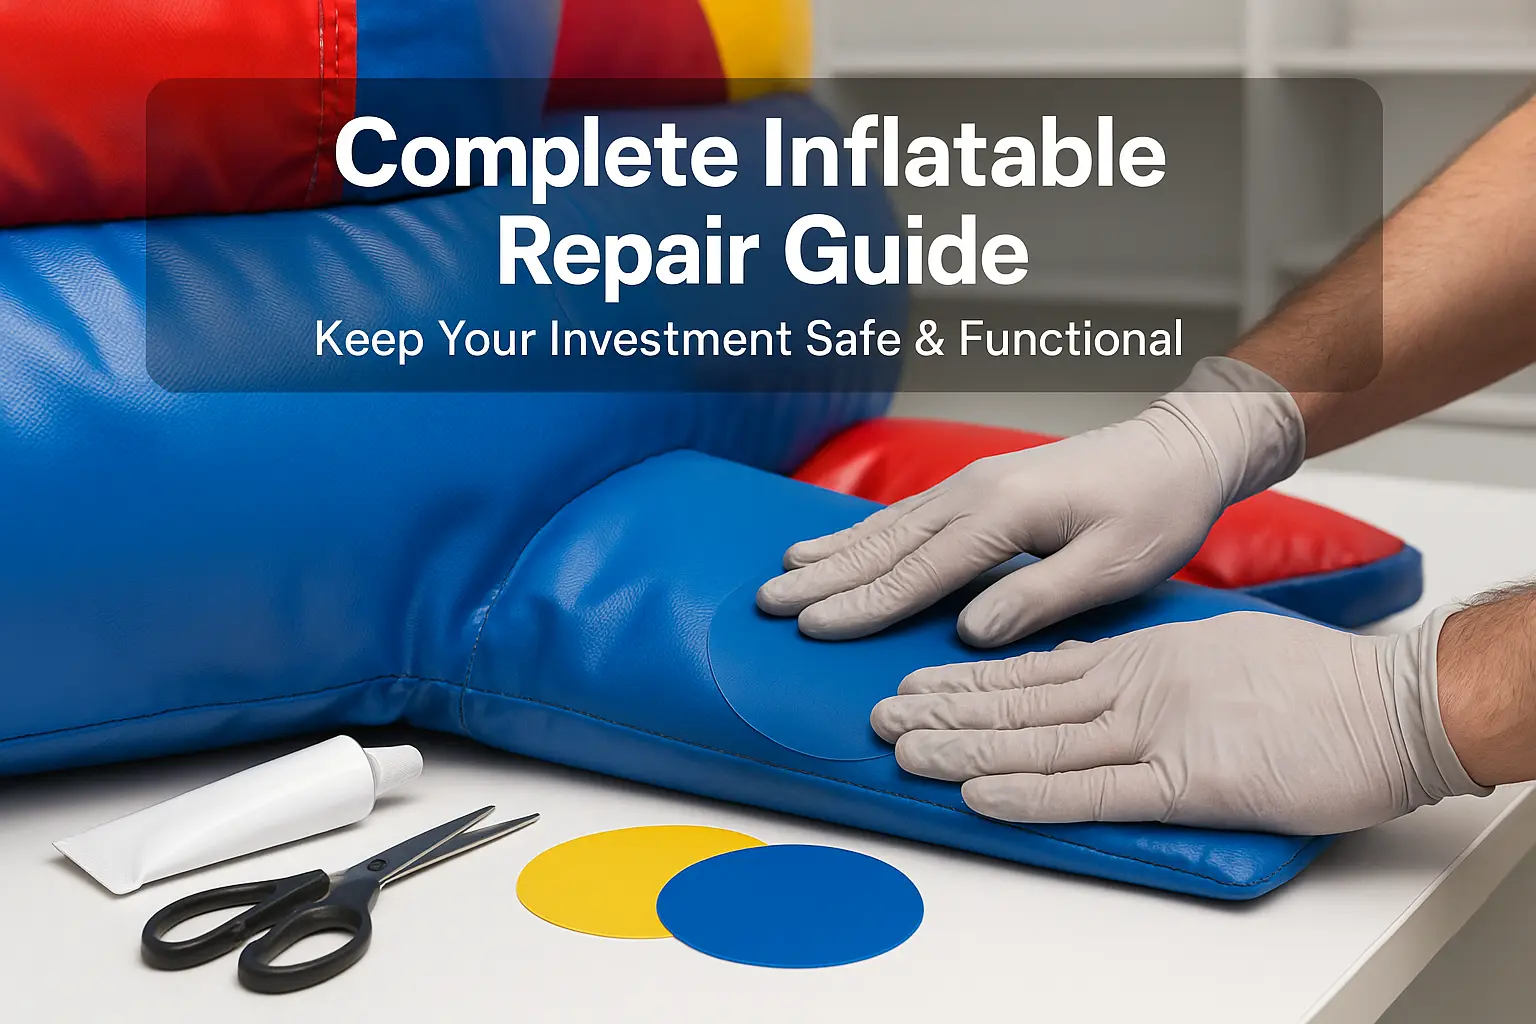
Inflatable products bring joy and entertainment to countless families, but like any frequently used item, they require proper maintenance and occasional repairs. Whether you own bounce houses, water slides, or interactive inflatable attractions, understanding basic repair techniques can save you money and extend your investment’s lifespan significantly.
This comprehensive guide covers the most common inflatable issues and provides step-by-step solutions that anyone can master with the right tools and techniques.
Essential Tools for Inflatable Repairs
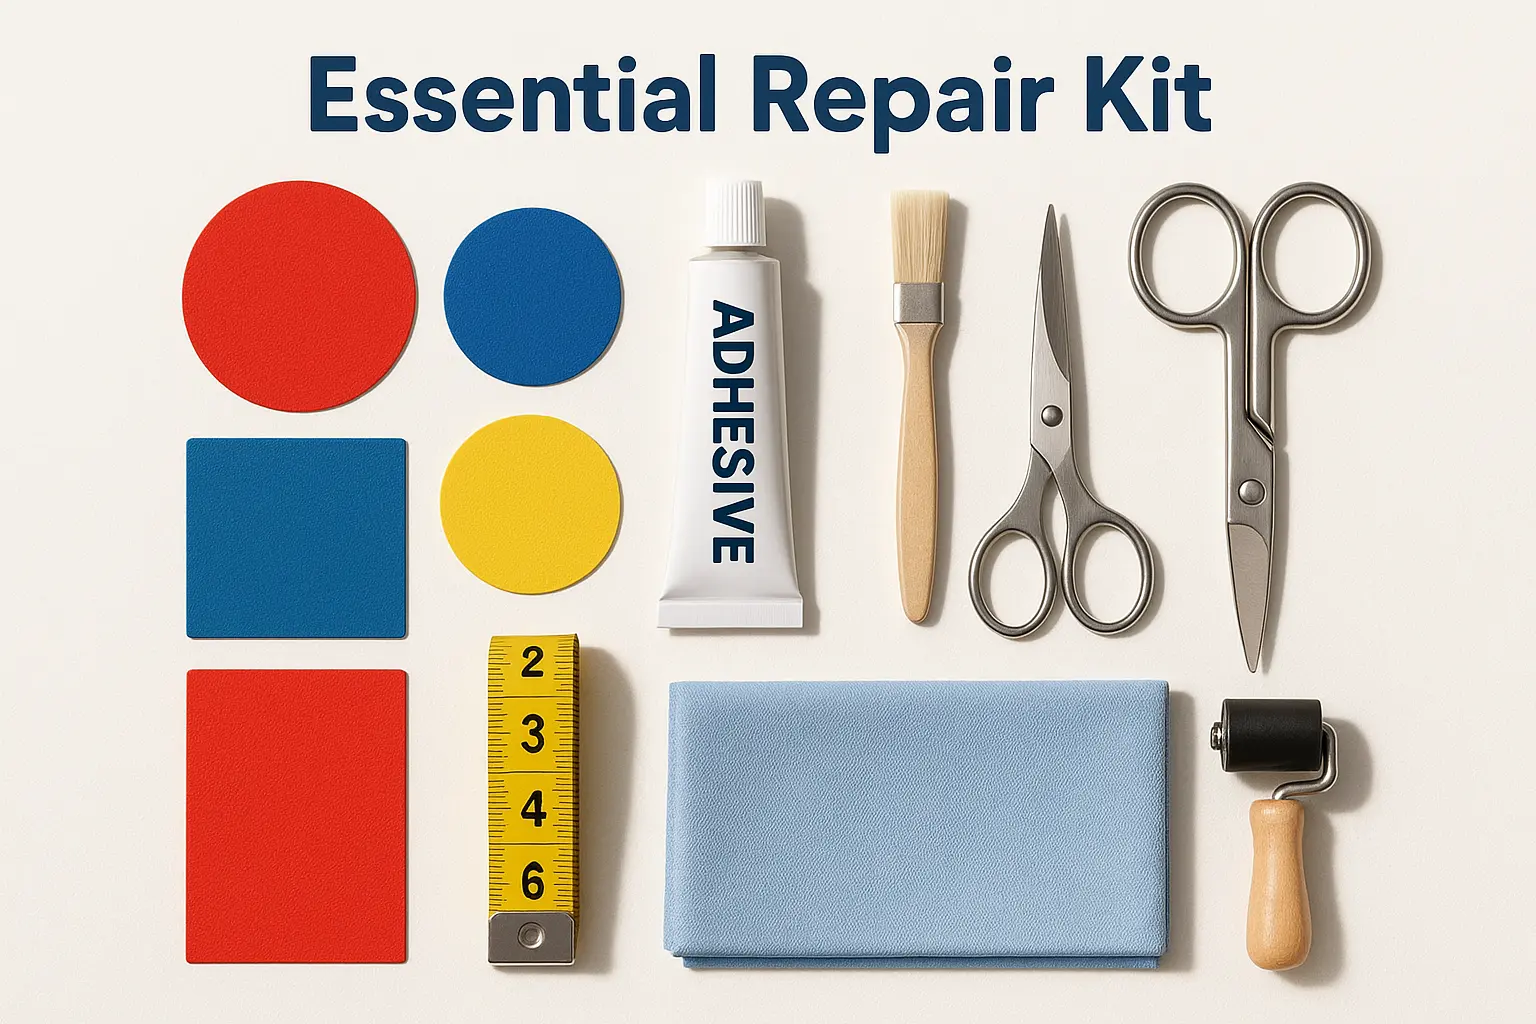
Before addressing any repair, having the proper tools makes the difference between a temporary fix and a lasting solution. Every inflatable owner should maintain a basic repair kit containing these essentials:
Patch Materials: High-quality vinyl or PVC patches that match your inflatable’s material thickness and color. These patches should be slightly flexible when dry to move naturally with the inflatable during use.
Professional Adhesive: Quality adhesives designed specifically for inflatable materials provide the strongest, most durable bonds. Avoid household glues that may damage the material or fail under pressure.
Surface Preparation Tools: Clean rags, isopropyl alcohol for degreasing surfaces, and fine sandpaper for roughening smooth surfaces to improve adhesive bonding.
Application Tools: Small brushes or spatulas for even adhesive application, and a small roller for removing air bubbles from patches.
Measuring and Cutting Tools: Sharp scissors for clean patch cuts and measuring tape for proper sizing.
Store these tools in a waterproof container to prevent moisture damage, which can compromise adhesive effectiveness and patch materials.
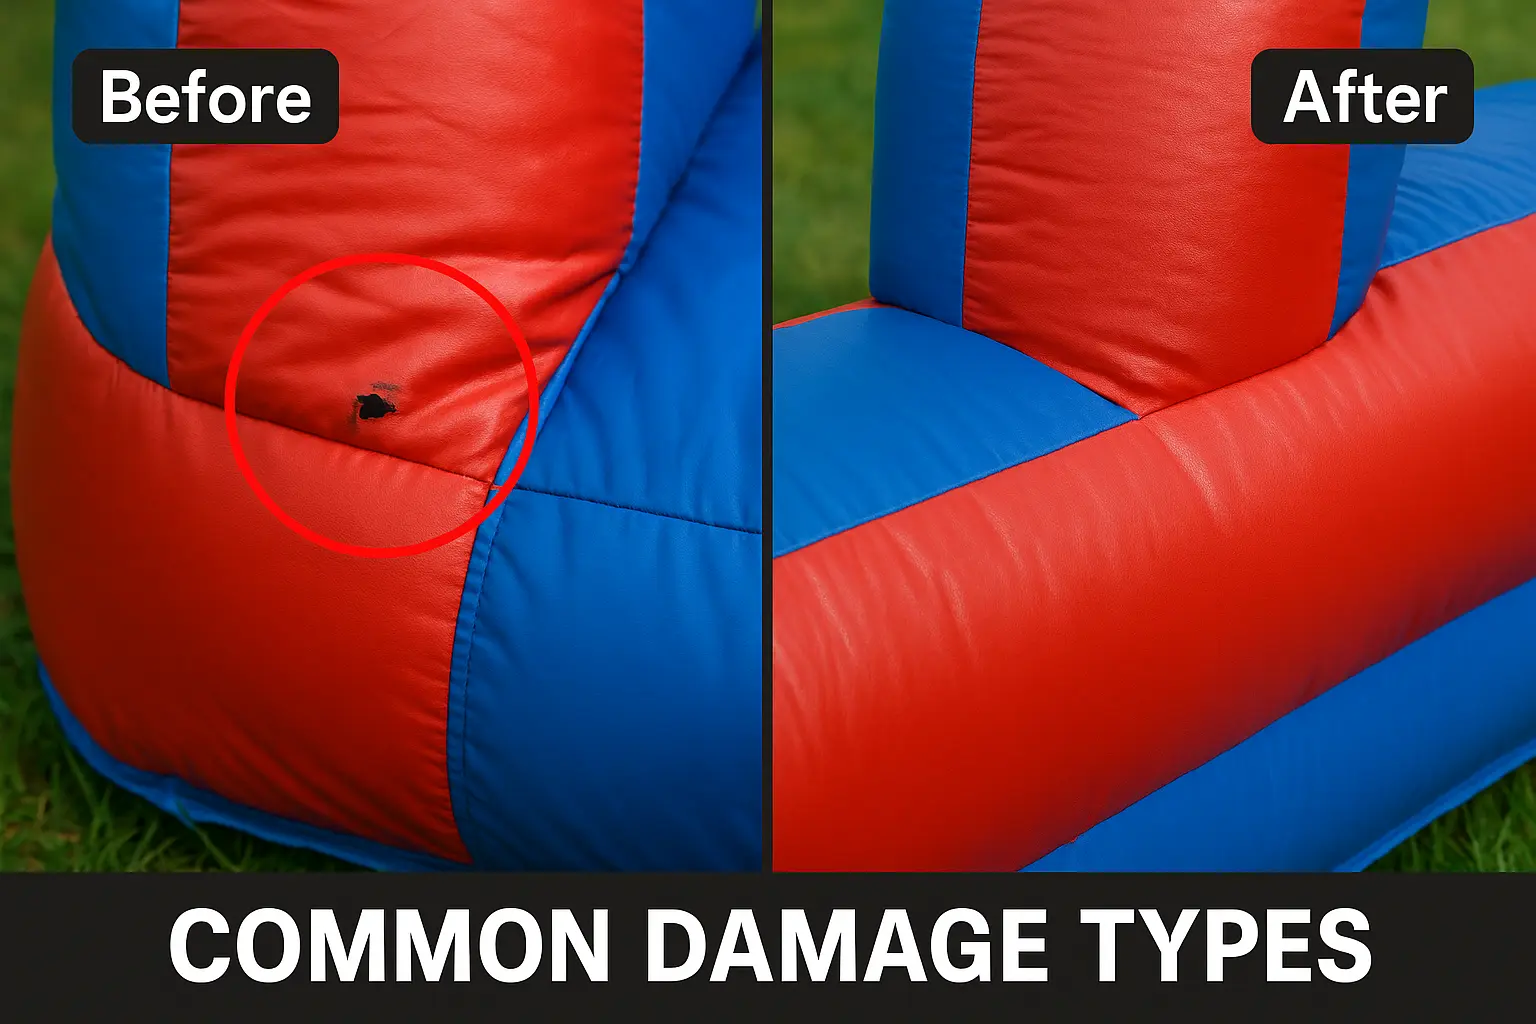
Identifying Common Problems
Understanding the root cause of inflatable issues helps determine the most appropriate repair approach. Most problems fall into three main categories that require different solutions.
Air Loss Issues
Small punctures represent the most frequent problem inflatable owners encounter. These typically result from contact with sharp objects, normal wear from heavy use, or material fatigue over time. Clean the area around the damage thoroughly with soap and water, then dry it completely before beginning repairs.
Valve problems often manifest as slow air loss that continues even when valves appear properly closed. This usually indicates worn seals or debris preventing complete closure.
Seam separation occurs along the manufactured joints where material pieces connect. This type of damage requires careful assessment, as extensive seam failure may indicate the inflatable has reached the end of its useful life.
Physical Damage Assessment
Blown baffles inside bounce houses create soft spots or uneven surfaces. These internal structural failures often require professional repair, as accessing internal components typically involves significant disassembly.
Surface tears and abrasions develop from dragging inflatables across rough surfaces or contact with sharp objects. The repair approach depends on the tear’s size, location, and direction.
Hardware failures include broken zippers, damaged velcro attachments, or torn anchor points. These components often experience high stress during normal use and may require replacement rather than patching.
Step-by-Step Repair Procedures
Repairing Small Punctures
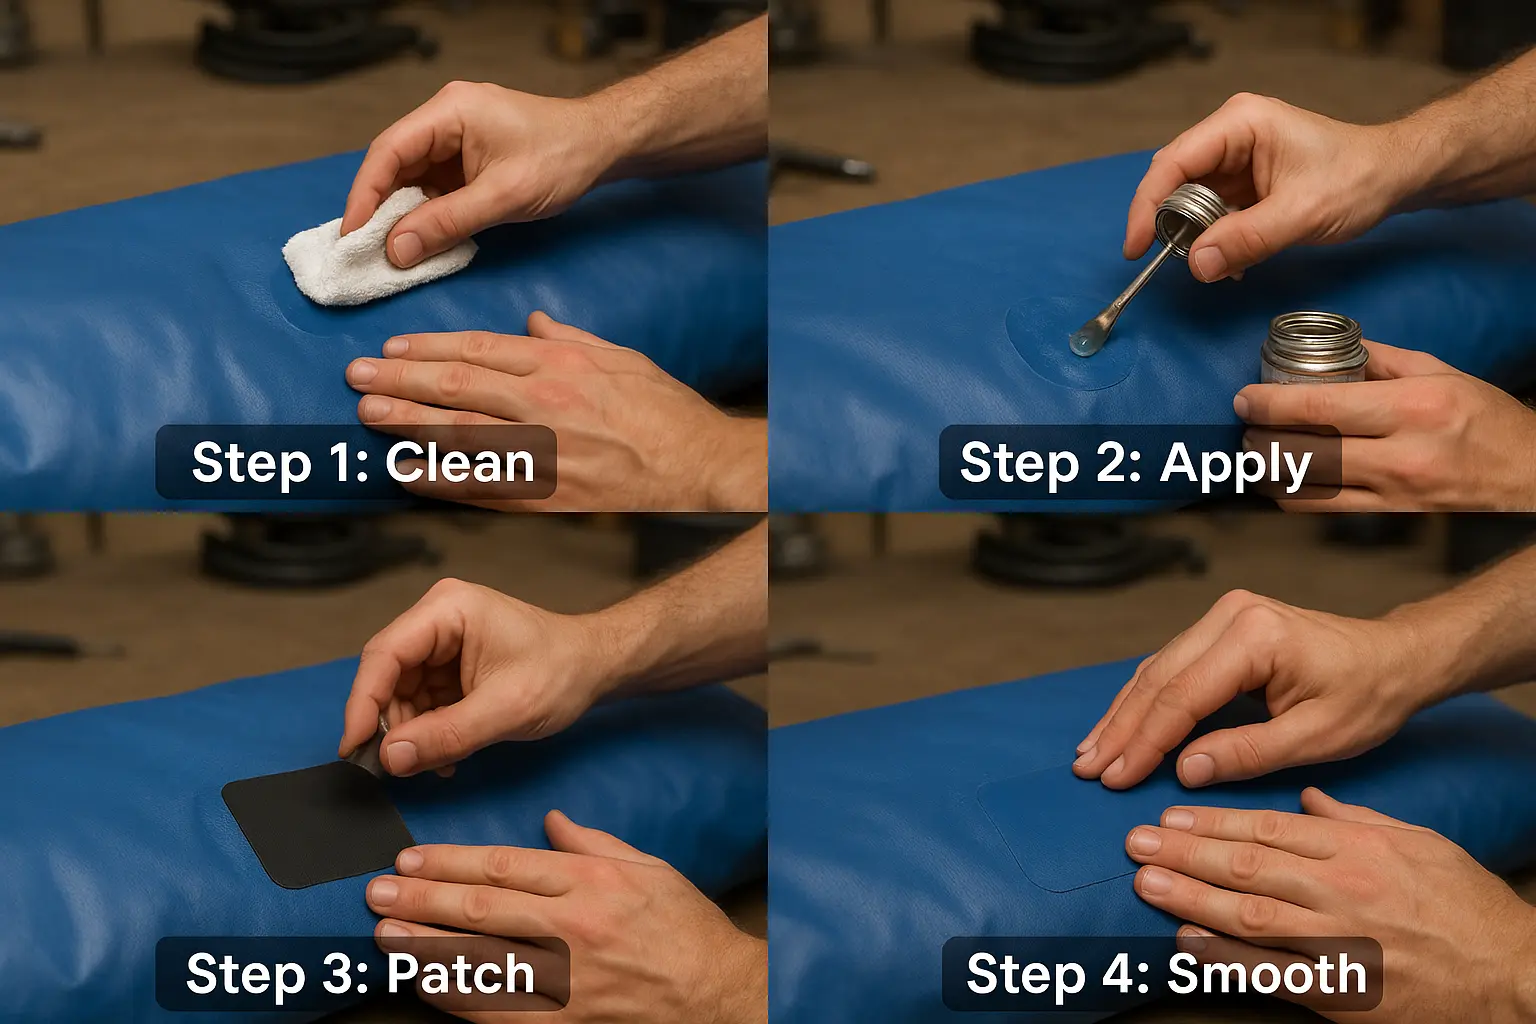
Start by locating the exact damage. Finding the source of the leak is always the first step before beginning any repair work. Inflate the item partially and listen for escaping air, or use soapy water to identify bubbling at leak points.
Clean the repair area thoroughly, extending at least two inches beyond the visible damage. Remove all dirt, oils, and debris that could interfere with adhesive bonding. Allow the surface to dry completely before proceeding.
Cut a patch slightly larger than the damaged area, ensuring about an inch of overlap on all sides. Round the patch corners to prevent lifting at edges, which commonly occurs with square-cornered patches.
Apply an initial thin coat of adhesive over the patch area and backside of the patch material, which serves as a primer coat. This technique ensures better adhesion and eliminates the need for surface roughening in most cases.
Wait for the primer coat to become slightly tacky before applying the final adhesive layer. This typically takes 5-10 minutes depending on temperature and humidity conditions.
Apply adhesive to both the patch and the damaged area, then press the patch firmly onto the inflatable, smoothing out any air bubbles. Work from the center outward to eliminate trapped air.
Use masking or duct tape around the edges to keep the patch steady while it bonds, preventing any movement that could break the bond as it dries. Allow several hours for complete curing before testing the repair.
Handling Larger Tears
Extensive damage requires more advanced techniques and realistic assessment of repair feasibility. Tears longer than six inches or those in high-stress areas may be better handled by professionals who have specialized equipment and experience.
For repairable larger tears, cut a piece of repair patch large enough to overlap the damaged area by approximately 1.5 cm, round off the edges, and use weight on top to keep it in place during curing.
Consider internal reinforcement for tears in structural areas. This involves placing patches on both sides of the damaged material, creating a stronger repair than single-sided patching alone.
Valve Maintenance and Repair
Regular valve cleaning prevents many air-loss issues. Remove debris from valve mechanisms and check rubber seals for wear or damage. Replace worn seals promptly to prevent progressive damage.
For valve replacement, mark the valve position before removal to ensure proper reinstallation alignment. Use appropriate tools to avoid damaging surrounding material during removal and installation.
Test valve function thoroughly after any maintenance work. Proper sealing requires correct alignment and adequate tightening without over-stressing the attachment points.
Preventive Maintenance Strategies
Regular maintenance significantly extends inflatable lifespan and reduces repair frequency. Develop consistent routines that address the most common causes of damage and wear.
Setup Considerations: Always inspect setup surfaces for sharp objects, rough textures, or debris before inflating. Use ground tarps when appropriate to protect bottom surfaces from abrasive contact.
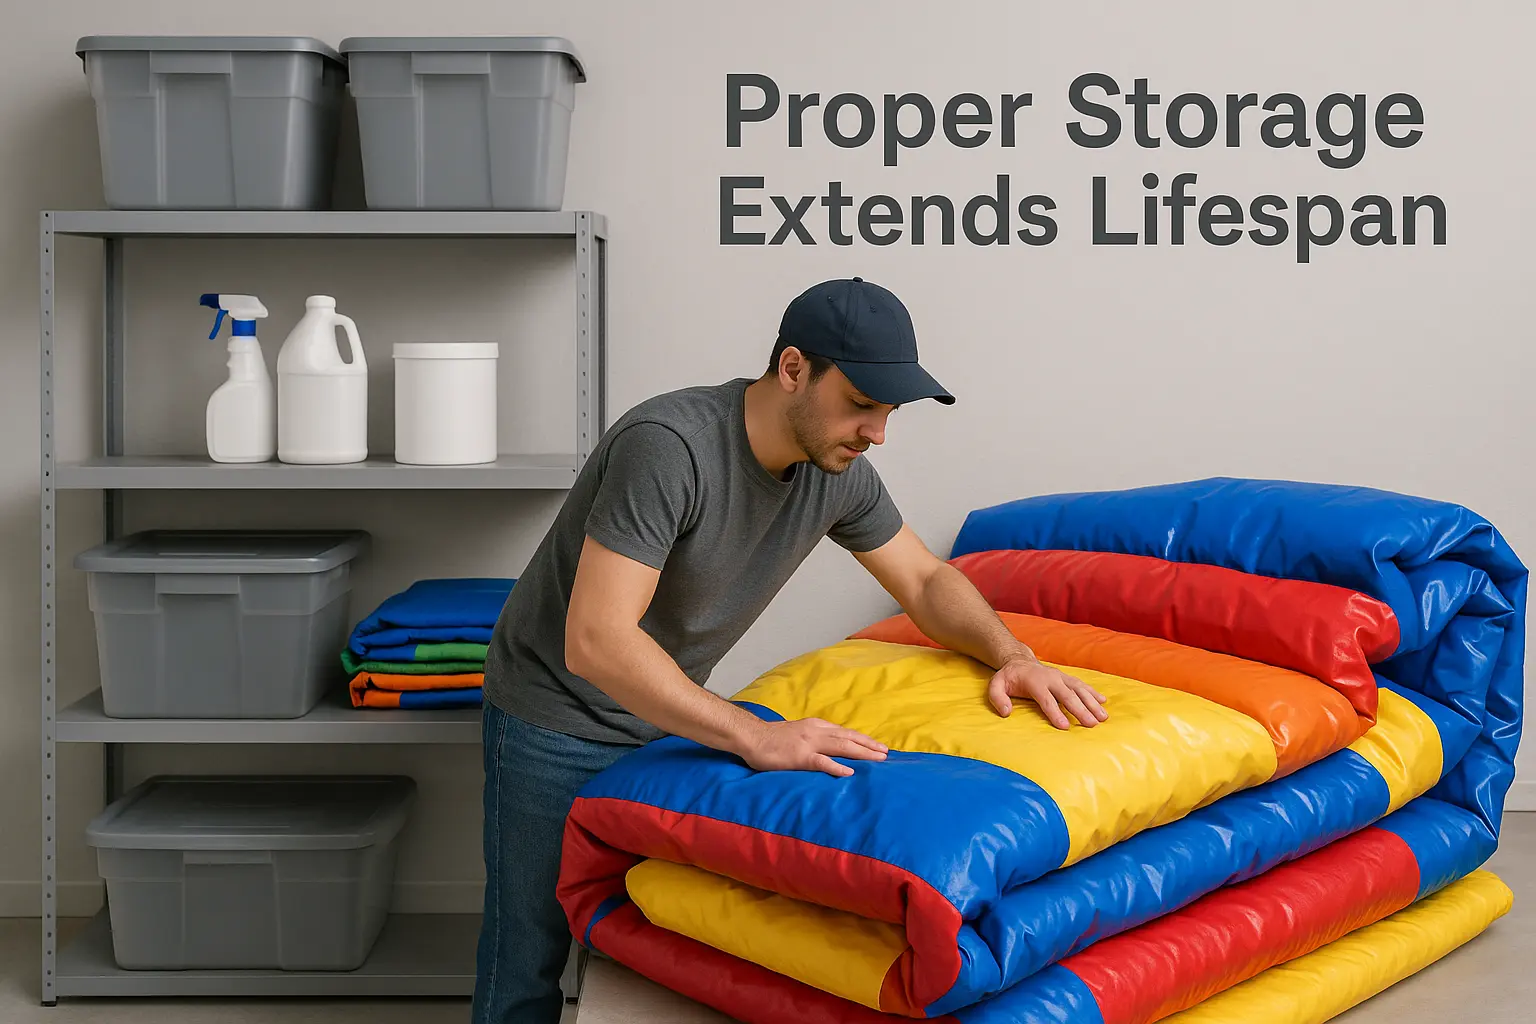
Cleaning Protocols: Remove dirt and debris promptly after each use. Allow complete drying before storage to prevent mold and material degradation. Use mild soap solutions and avoid harsh chemicals that can damage vinyl or PVC materials.
Storage Best Practices: Store inflatables in cool, dry locations away from direct sunlight. Extreme temperatures can cause material brittleness or degradation over time. Avoid folding along the same creases repeatedly, which creates stress concentration points.
Regular Inspections: Schedule monthly detailed inspections to identify developing issues before they require major repairs. Check seams, stress points, and high-wear areas for early signs of fatigue or damage.
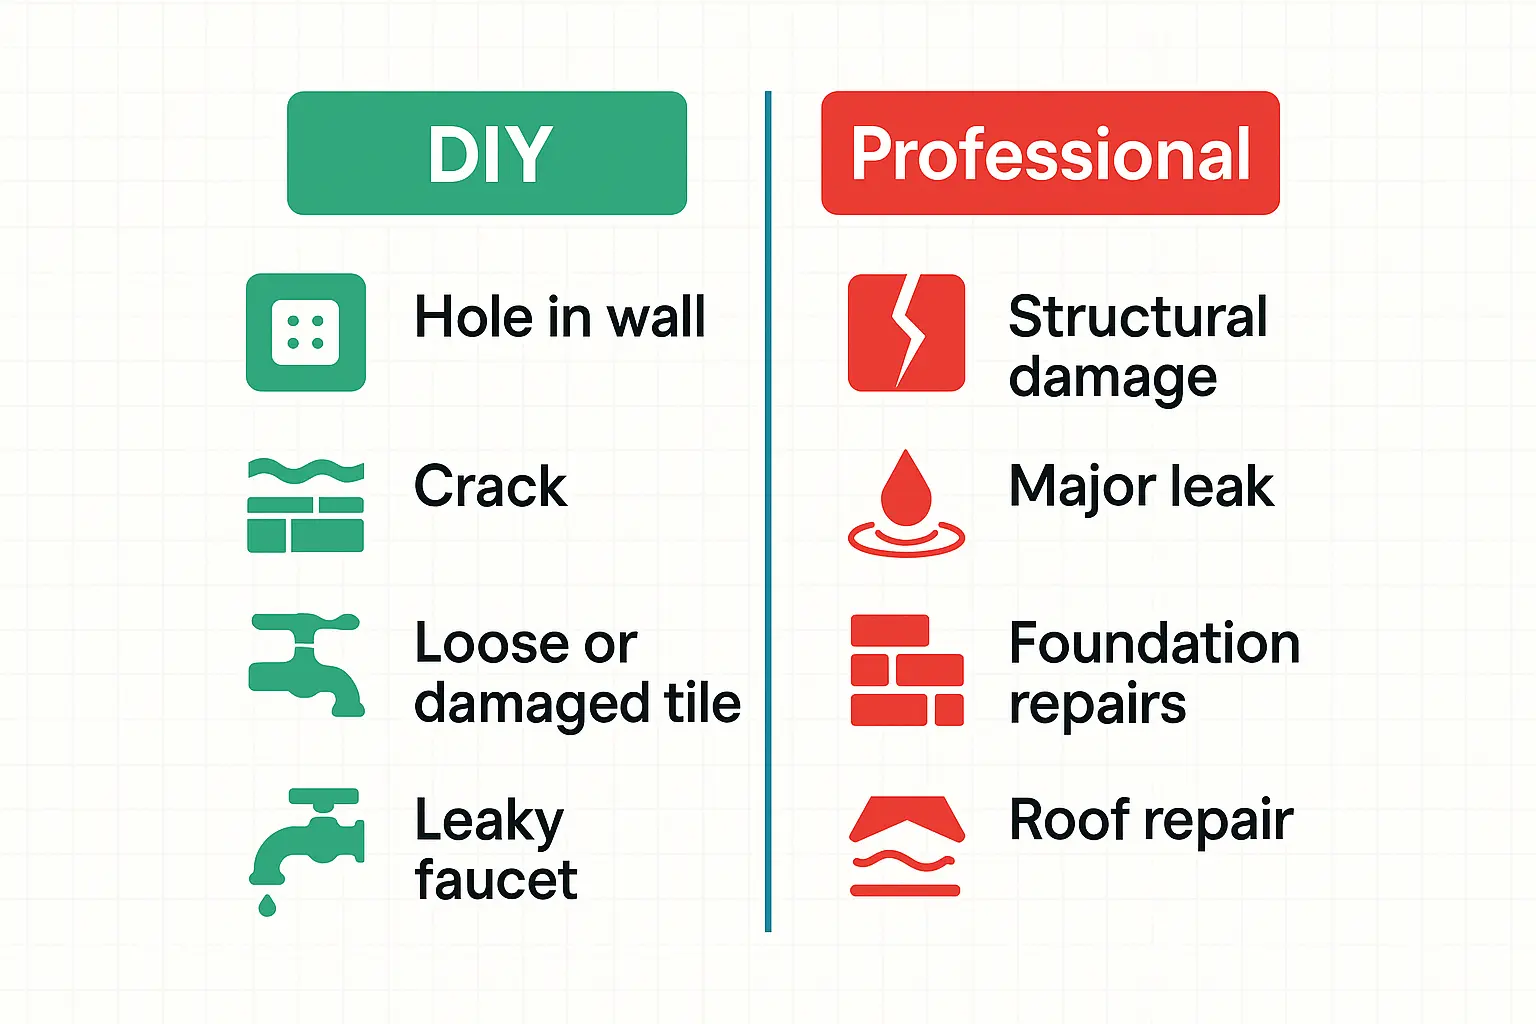
When Professional Help Is Necessary
Certain repairs exceed typical DIY capabilities and require professional expertise for safe, effective resolution. Recognize these situations early to avoid worsening damage through inappropriate repair attempts.
Complex structural damage, particularly to internal baffles or load-bearing seams, requires specialized knowledge and tools. Professional repair services have experience with manufacturer specifications and appropriate replacement materials.
Safety-critical components, such as slide exit areas or climbing wall attachment points, must meet specific safety standards. Improper repairs in these areas could create serious safety hazards for users.
Warranty considerations also influence repair decisions. DIY repairs may void manufacturer warranties, while professional repairs often maintain warranty coverage. Evaluate the cost-benefit relationship carefully before proceeding with major repairs.
For high-quality inflatable products like those manufactured by MinyeFun, professional repair services understand the specific materials and construction techniques used, ensuring repairs maintain the original safety and performance standards.
Maintaining Your Investment
Proper maintenance and timely repairs protect your inflatable investment while ensuring safe, enjoyable experiences for users. Regular attention to minor issues prevents major problems and extends equipment lifespan significantly.
Quality inflatable products, when properly maintained, provide years of reliable service. Understanding basic repair techniques empowers owners to address common issues promptly while recognizing when professional expertise is necessary for complex problems.
Remember that prevention remains more effective and economical than repair. Consistent maintenance routines, proper storage, and careful setup practices minimize repair needs while maximizing your inflatable’s useful life.
By following these guidelines and maintaining appropriate repair supplies, you can keep your inflatable attractions in excellent condition, ensuring they continue providing safe, fun experiences for years to come.